Virtual Appliance
The fastest way to start playing with Ghiro is to download the Ghiro Virtual Appliance (it is a copy of Ubuntu Linux with all you need already installed, you can run on your host) to help people get a running Ghiro in few steps. In few minutes you will have a fully functional Ghiro setup, running in a virtual machine, to start to analyze your images. It is an OVA file, you have to import in your virtualization software (like VirtualBox or VMWare) and configure the networking as explained in the documentation.
Quick start guide
The following steps will guide you through appliance setup.
Step 1. Ready for Virtualization
You can run Ghiro Appliance in any host (Mac, Windows or Linux), only a virtualization software is requested. There are many out there, free and commercial, for example Vmware or VirtualBox.
VirtualBox is a free and open source virtualization software, so for the sake of this guide we are going to use it, although you can use any other software to run Ghiro Appliance.
You need to have VirtualBox working, so download and install VirtualBox following the instruction on his website.
Step 2. Get Ghiro Appliance
Download Ghiro Appliance from Ghiro website in OVA format and uncompress it, it is around 600Mb (an image for Vmware ESXi is also available).
You will explode an .OVA file (the appliance), and a readme file with setup instructions.
Step 3. Import Appliance
Now you can import the .OVA file inside VirtualBox. Open VirtualBox, go in the menu File and click on “Import Appliance…”, a screen like the following will popup:
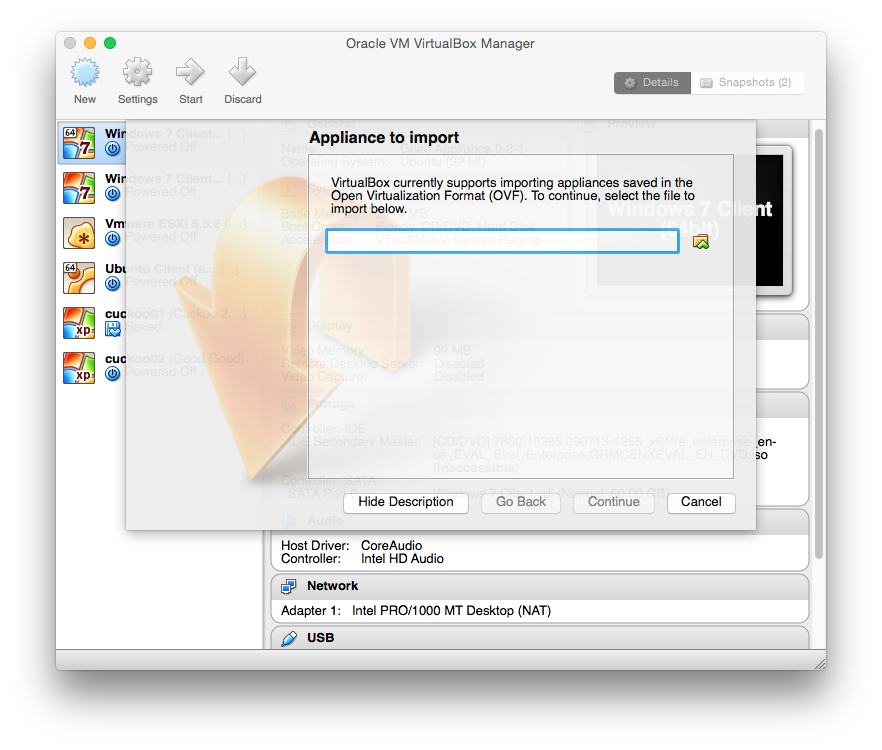
Select the .OVA file and than click “Continue”:

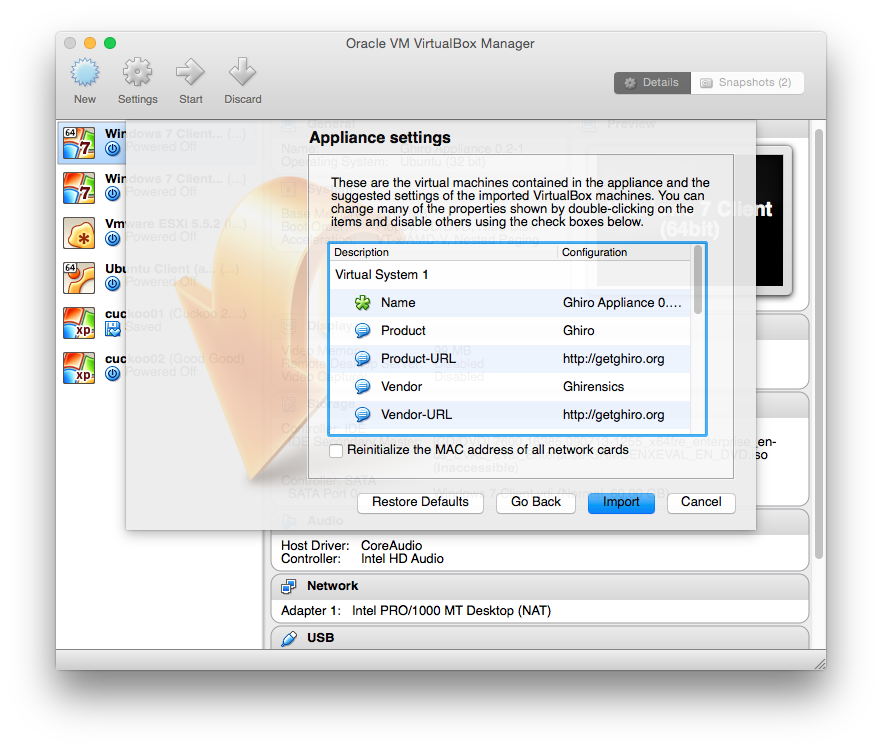
Now a default setting page is proposed, just hit “Import”:
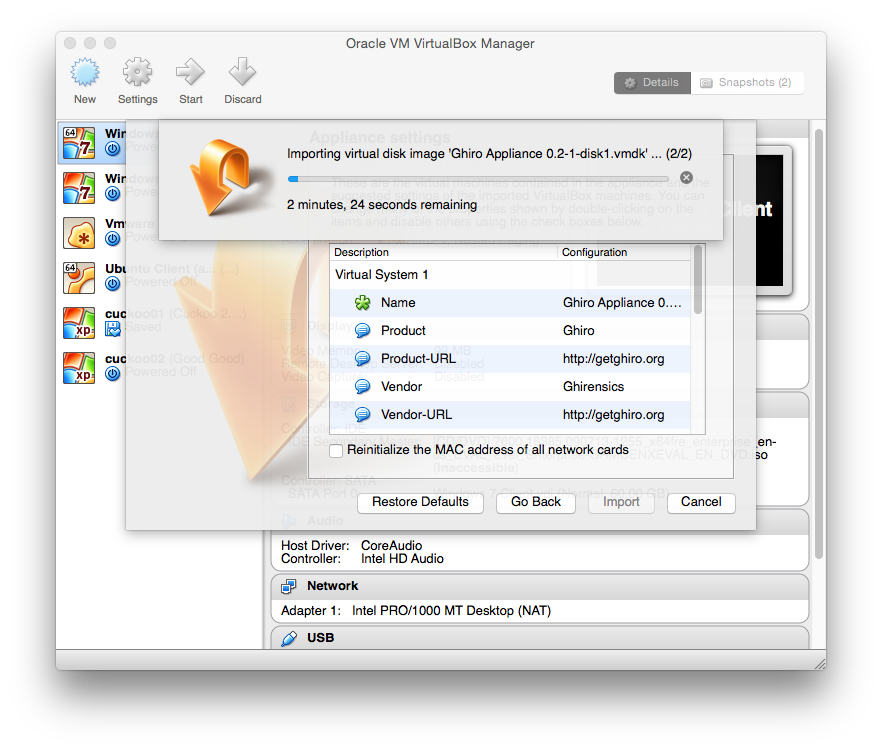
After clicking “Import” the import process will start and in a couple of minutes it will be ready:
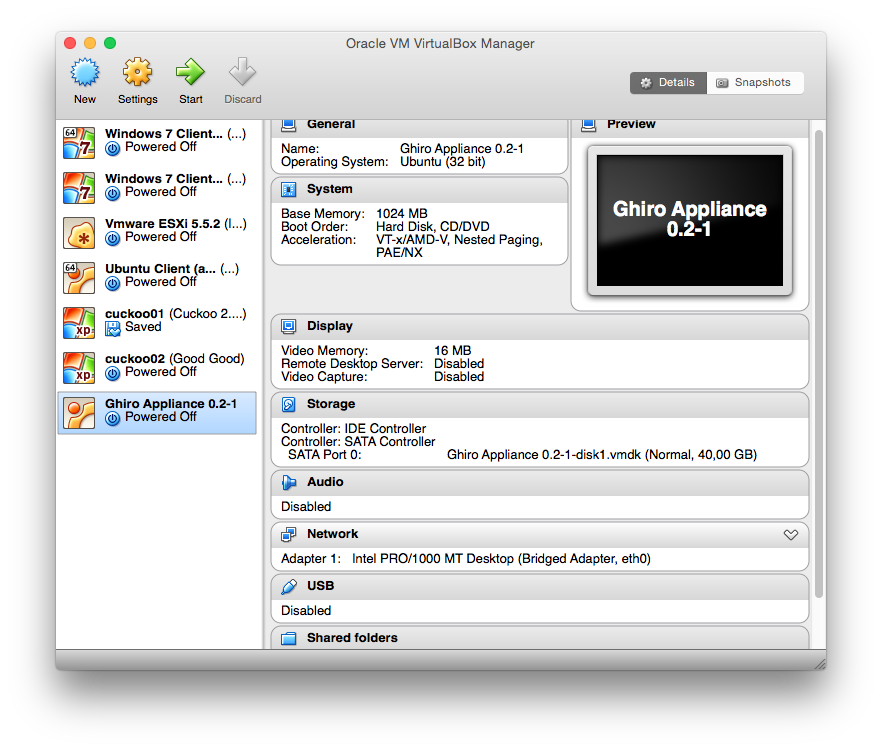
When the appliance is imported you will see it in virtual machines list (don’t worry if you don’t have all the machines listed in the screenshots, I am sorry but I have many):
Step 4. Network Configuration
Most people fail configuring the network, so please pay attention.
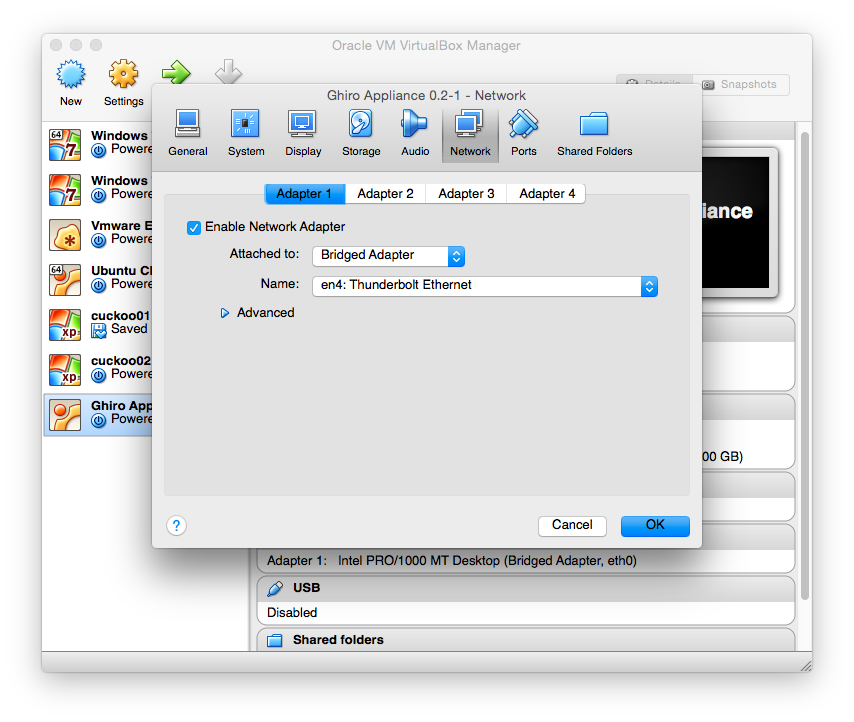
Right click on your Ghiro Appliance on the Virtual Box Manager window and click on “Settings”.
Then choose the “Network” tab.

You have to configure how the virtual machine can connect to your network, so now you are asked to select the network interface you are using and the type of link (bridged or host only).
In most cases you need to set “Attached to:” to “Bridged Adapter” and you have to set the “Name” of the network card you are using your for network, for example if you are using your wired interface named “eth0”, select “eth0” on the name drop down menu.
Remember to always set “Attached to:” to “Bridged Adapter” or “Host-only Adapter”, never use NAT or any other option, it will not work due to how networking is implemented in VirtualBox. For more information about connectivity see the VirtualBox documentation.
Step 5. Start & Play
Start the Ghiro Appliance selecting it and clicking on “Start”. The boot will start, when the appliance is ready you will see a screen like this one.
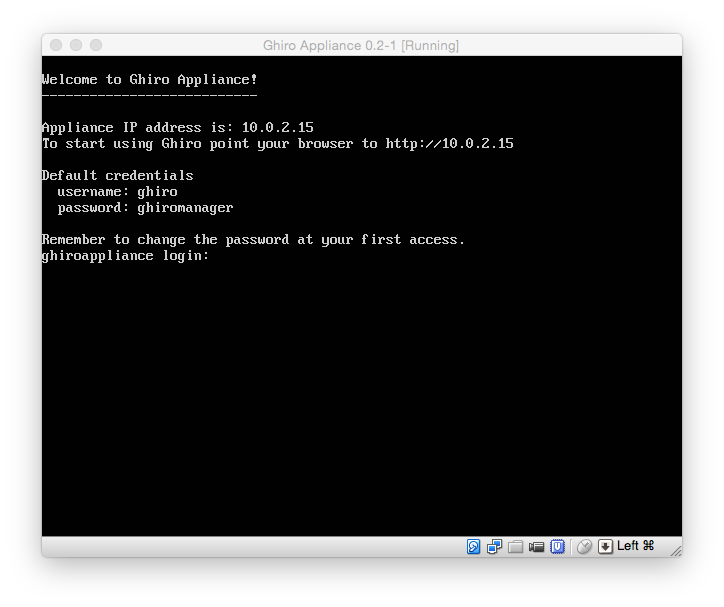
The appliance IP address is printed on the screen, as highlighted:
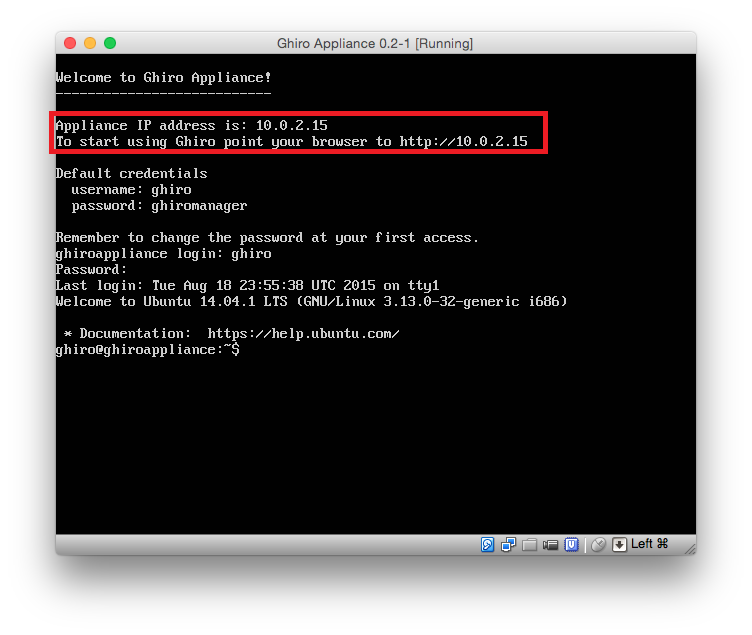
Now just put that address in your browser and the Ghiro interface will appear.
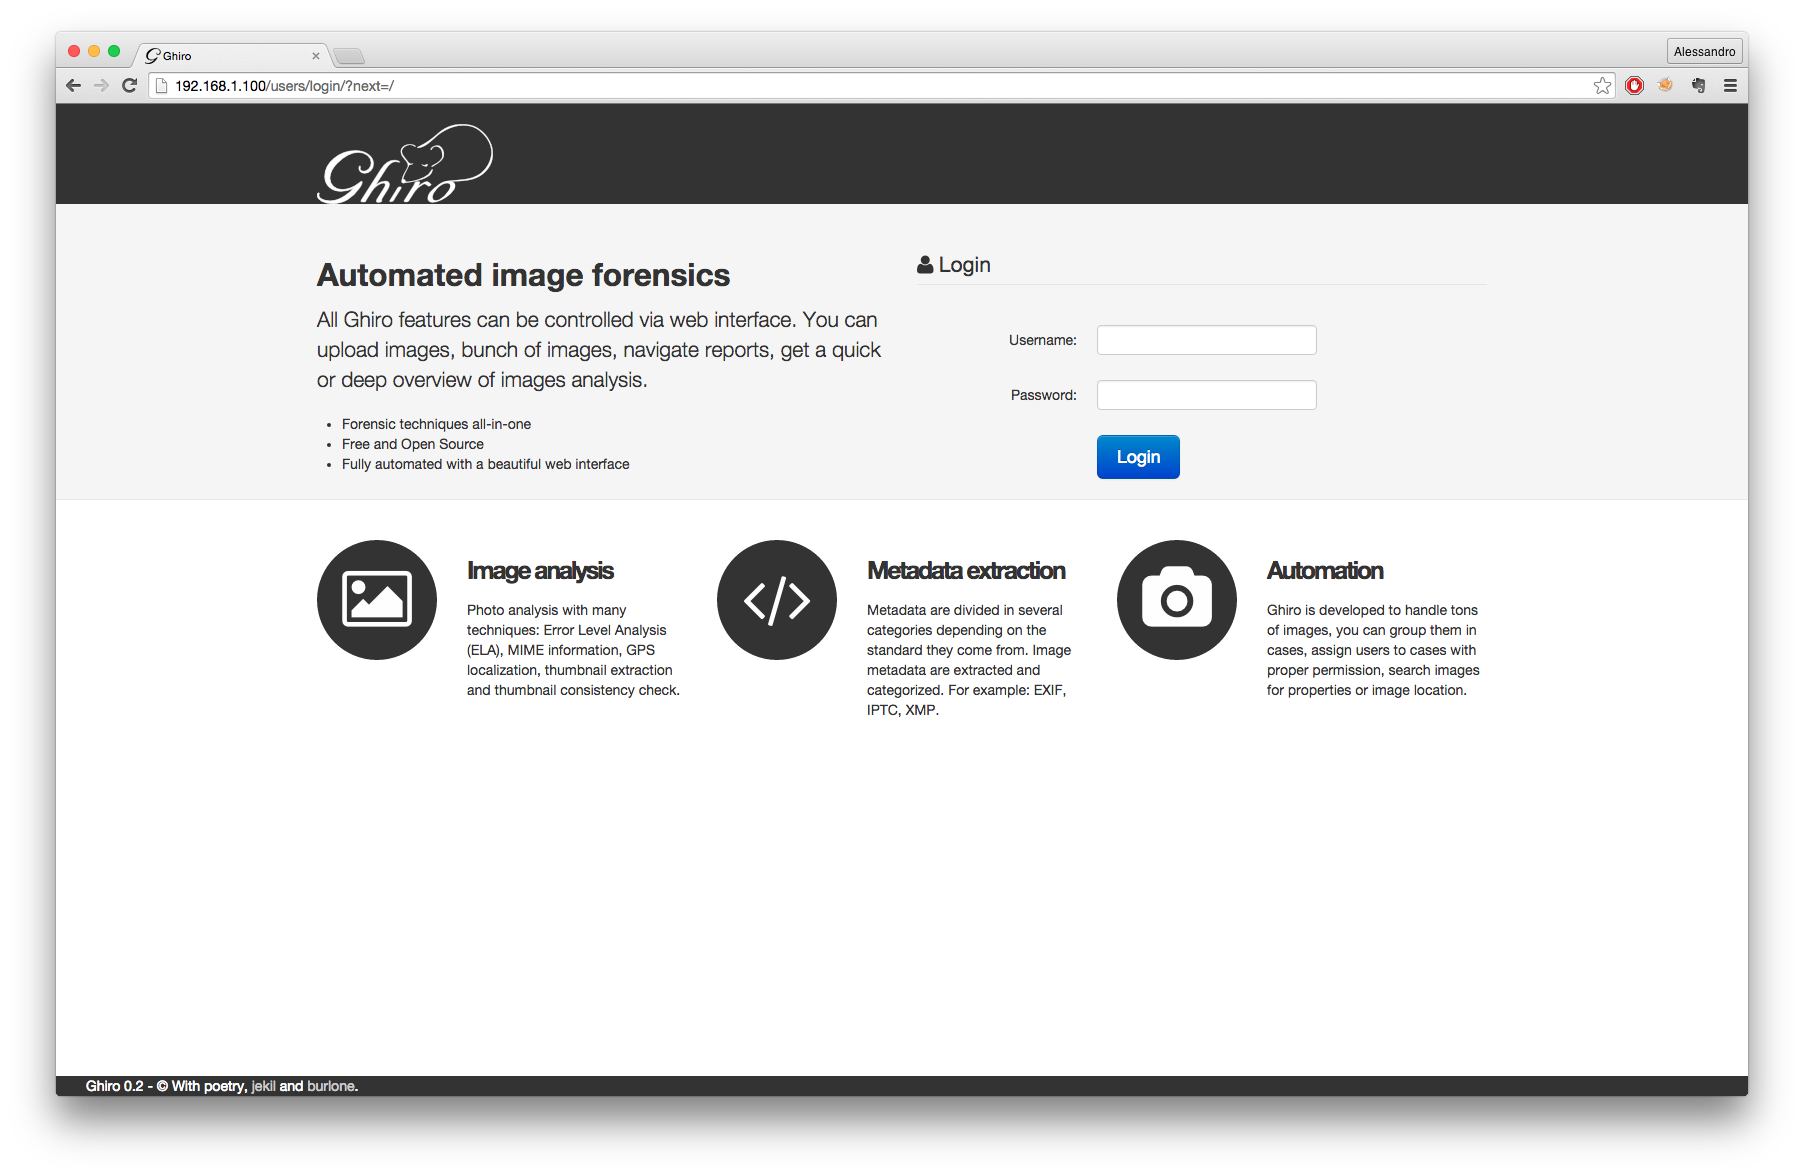
Now login in your browser with the same credentials and you will be ready to play.
- Login: ghiro
- Password: ghiromanager
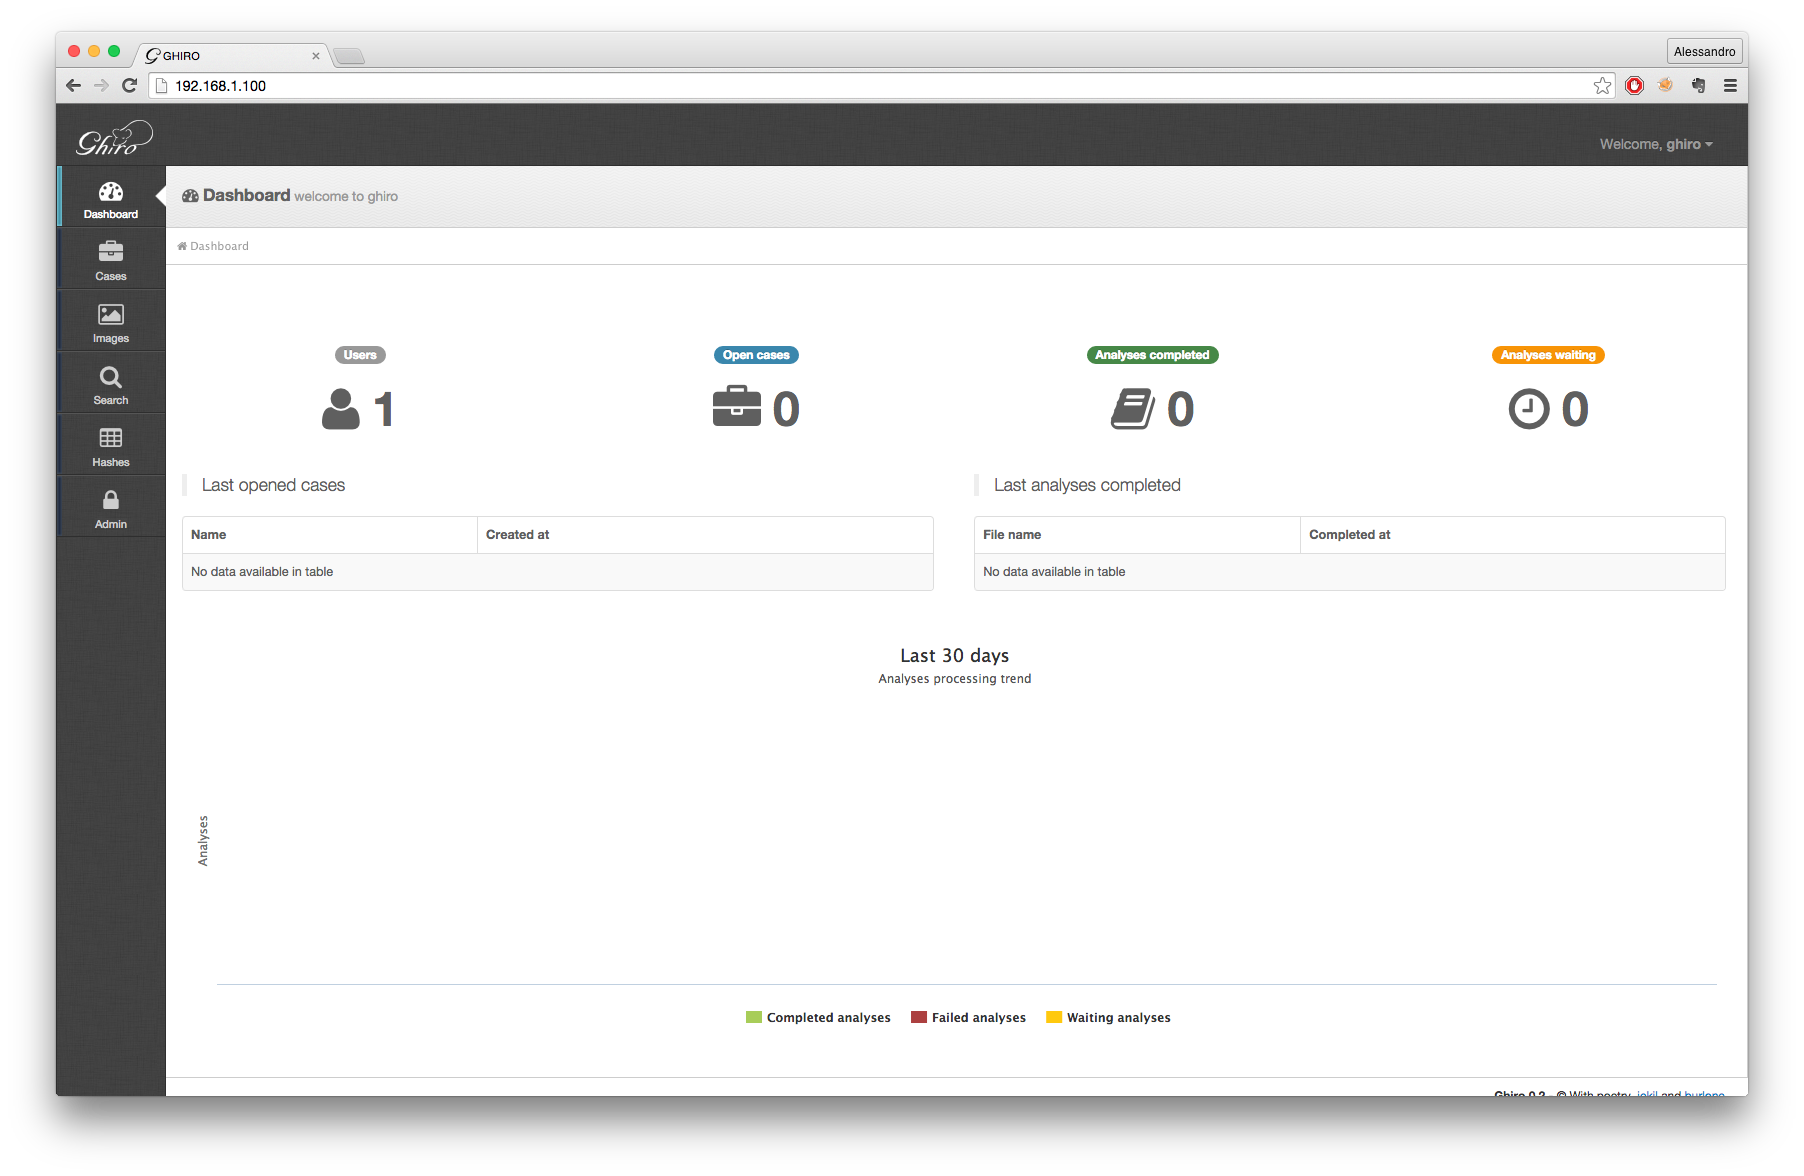
Now appliance is running, enjoy! You can start analyzing images! Go in the “Cases” panel, create your first case, and add your images with the add button. For usage help please refer to the documentation at: http://www.getghiro.org/docs/latest/usage/index.html
How to login
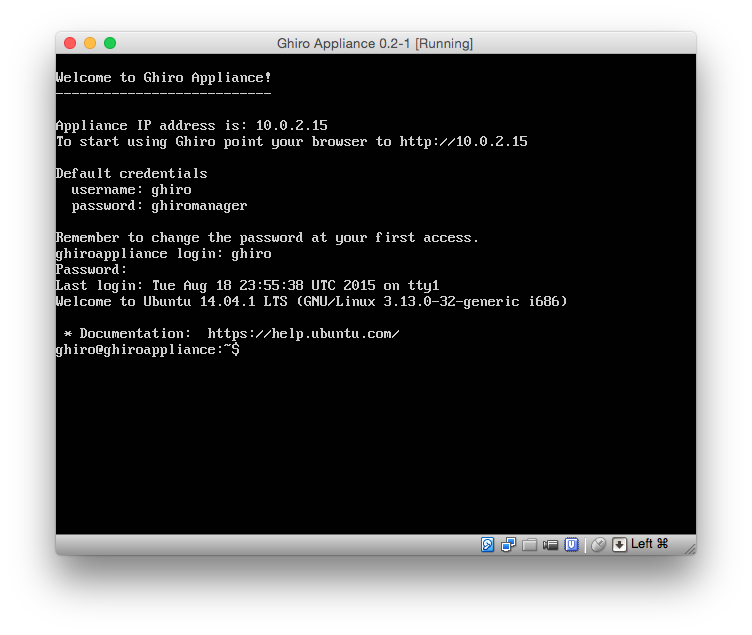
What you see after Ghiro Appliance boot is a Linux login screen, you have just to enter the credentials to login if you need to access the Appliance linux OS.
Login as explained with:
- Login: ghiro
- Password: ghiromanager
Note that when you type the password it will not be shown.
If you login successfully you will see the command prompt, with the blinking cursor after a “$” symbol.
Uploading files
You can upload images using the following methods:
- Using Web interface * Go to cases page * Create a new case * Upload your images to the case using the add images button
- Via SMB share (windows shared folders)
- Go to cases page
- Create a new case
- List the SMB (windows shared folders) shares on your network: Ghiro appliance is exposing all cases in a shared folder, you can upload images related to a case his folder
- Via FTP share
- Go to cases page
- Create a new case
- Access to FTP listeing on Ghiro appliance IP address: Ghiro appliance is exposing all cases in a FTP folder, you can upload images related to a case his folder
Extra Configuration
For extra security, remember to change the default password at your first access for both web application and Linux console access.
If you need to manually configure your IP address: login in, and configure the networking card with your desired IP, for example to give the IP 192.168.0.10 use the following command:
sudo ifconfig eth0 192.168.0.10 up
If you need to access remotely to the appliance you can use SSH. The appliance is shipped with a default disk of 50GB, if is not enough you can create another virtual disk and add that to the root volume using LVM.
Appliance building
This chapter explains how Ghiro Appliance is created, probably you could skip this if you are not interested in customizing the appliance.
The appliance building script is open source and available under a project dubbed ghiro-appliance on Github.
Ghiro appliance builder is a packer.io script to automagically create a Ghiro appliance ready to be used, based on Ubuntu Linux.
Using this script you should be able to create your onw Ghiro appliance updated to latest Ghiro’s development branch. You can easily customize the appliance building script to create your own customized appliance.